How To Replace A Subaru Rear View Mirror
Replacing the rearview mirror in your Subaru is an easy way to make your drive safer. Improving your rear visibility makes mistakes less likely. Replacing your rear view mirror is also something you can do yourself to save both time and money.
In this guide, we will walk you through the steps needed to replace your Subaru's rearview mirror, including the tools needed and some helpful tips.
Why Choose An OEM Subaru Rearview Mirror?
If the time has come to replace your mirror, choosing a Subaru Original Equipment Manufacturer (OEM) rearview mirror is the best option:
- They are designed specifically for your vehicle's make and model.
- They are made with high-quality parts.
- They come with Subaru's OEM manufacturer's warranty.
In some cases, an OEM Subaru mirror may cost just a bit more up front, but it is worth it for the quality and peace of mind it provides.
Tools And Materials Needed
To replace your Subaru's rearview mirror, you need the following:
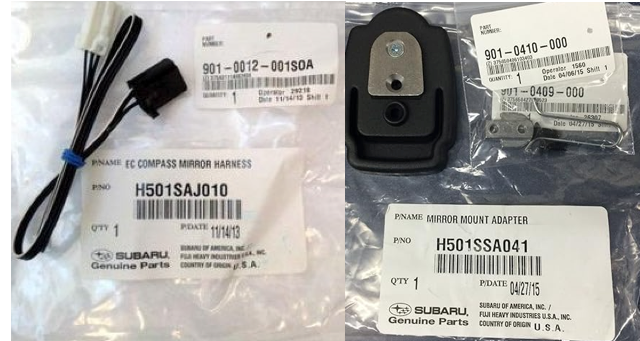
- New OEM rear view mirror
- Screwdriver (Phillips and flathead)
- Torx driver (if needed for your vehicle)
- Scraper (optional)
- Adhesive remover and cleaning cloths (optional)
Installing Your Subaru Rear View Mirror
1. Remove The Old Mirror
First, gently pry off the plastic cover at the base of the mirror, where it attaches to the windshield. If necessary, use a flathead screwdriver, being careful not to scratch or damage the windshield.
Next, use the appropriate screwdriver or Torx driver to remove the screws holding the old mirror in place. Carefully pull the mirror away from the windshield, disconnecting any electrical connectors if your mirror has electronic features.
In many cases, the mirror itself might be held in place by adhesive. To remove the adhesive, first spray some adhesive remover around the base of the mirror and let it soak for a few minutes. Then use a scraper and work it between the base of the mirror and the windshield, carefully prying the mirror loose.
2. Prepare the New Mirror
Before installing the new mirror, clean the windshield with a cleaning cloth, adhesive remover, and window cleaner. This will ensure that the mounting area on the windshield is clean and free of old adhesive, allowing the new mirror to bond to the surface.
3. Install The New Mirror
Align the new OEM mirror with the mounting point on the windshield. Secure the mirror in place using the screws or adhesive provided with the new mirror. Then attach any necessary electrical connectors.
Finally, replace the plastic cover to hide the mounting hardware.
4. Test The New Mirror
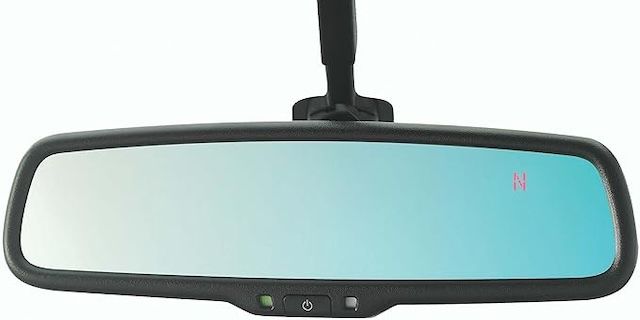
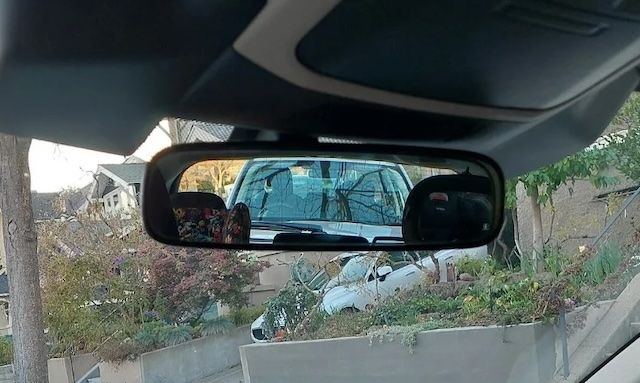
Once the new mirror is securely installed, adjust it to ensure a clear view of the road behind you. If your mirror has electronic features, such as auto-dimming or a built-in compass, test these features to ensure they work correctly.
Genuine OEM Rear-View Mirrors From Subaru Parts Plus
If you need to replace the rear-view mirror on your Subaru car, truck, or SUV, your best source is Subaru Parts Plus. When you buy from us, you get the following:
- OEM parts backed by a Subaru warranty
- Expert advice from our experienced, knowledgeable associates
- Fast shipping to your door
We are a family-owned, authorized dealer of OEM Subaru parts. All parts we sell are backed by a Subarus manufacturer warranty. If you need help, contact us online or call us at 1-888-294-4979.